Repairs · Toronto
Garage Door Tune-Up
Halfway up, the door shudders.
In plain words
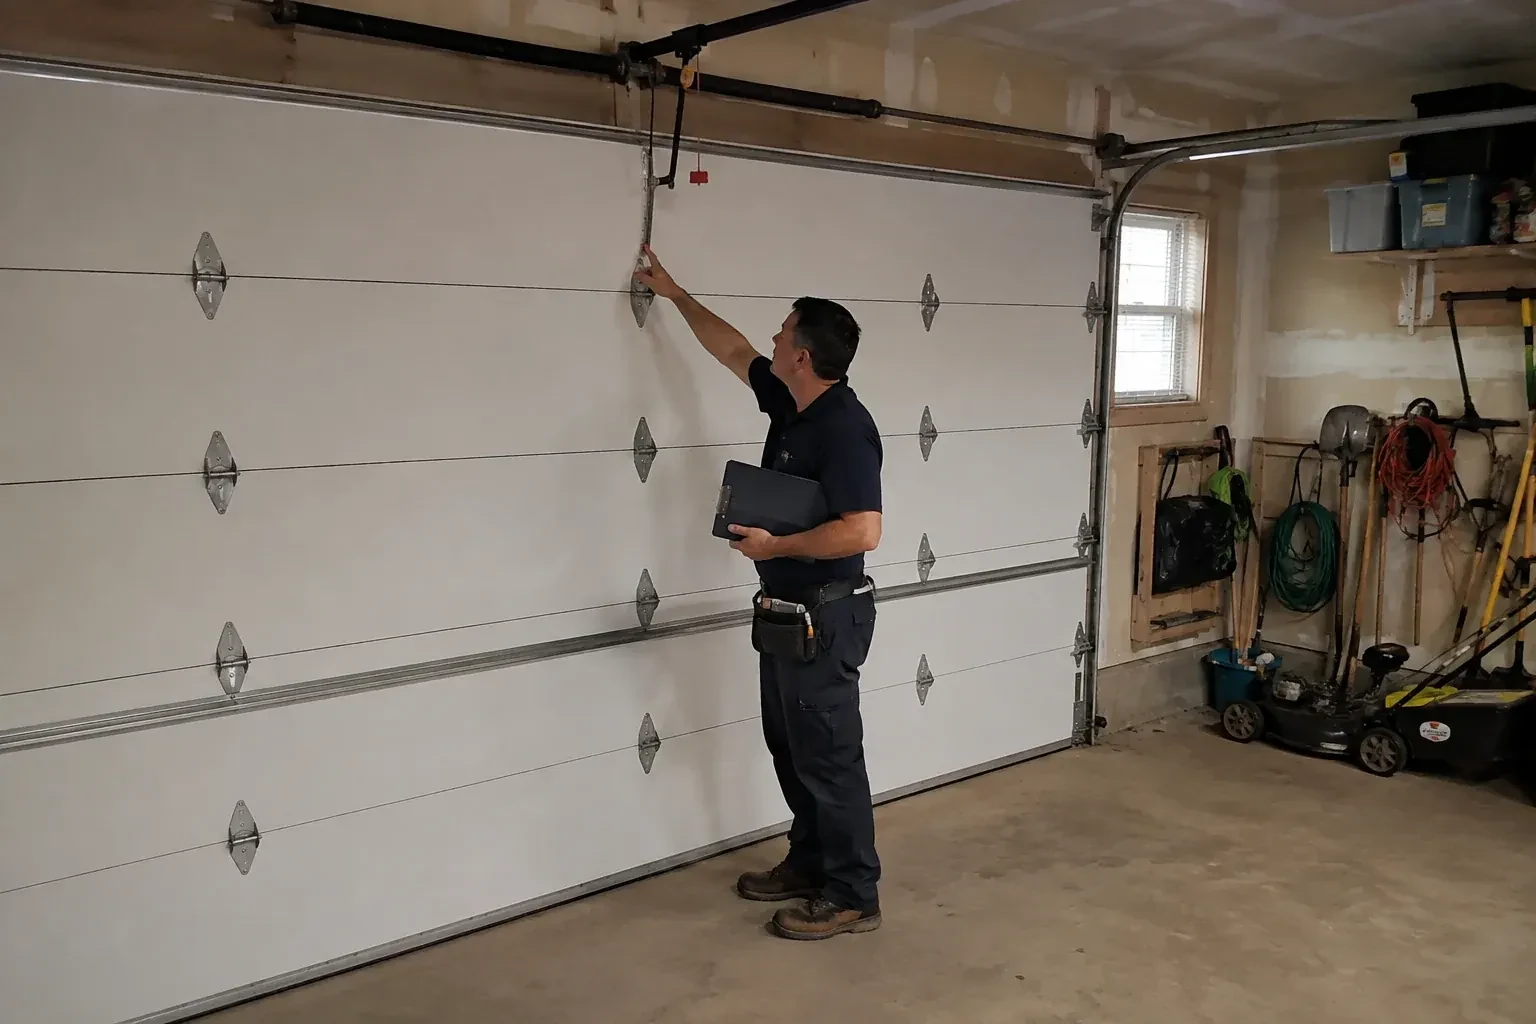
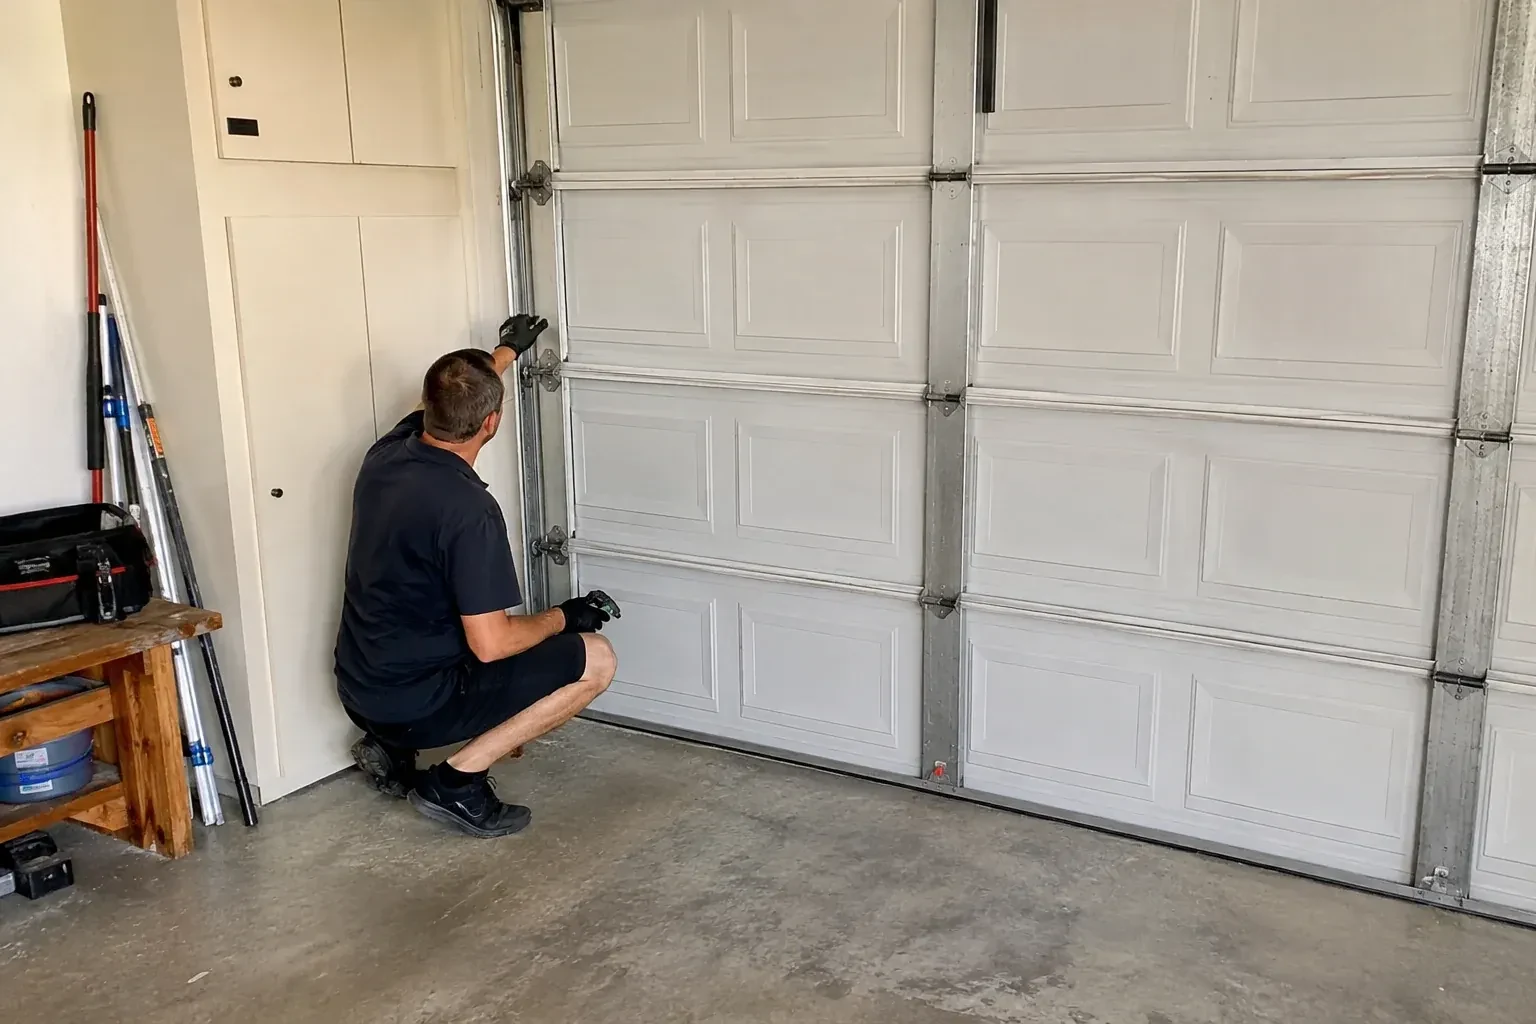
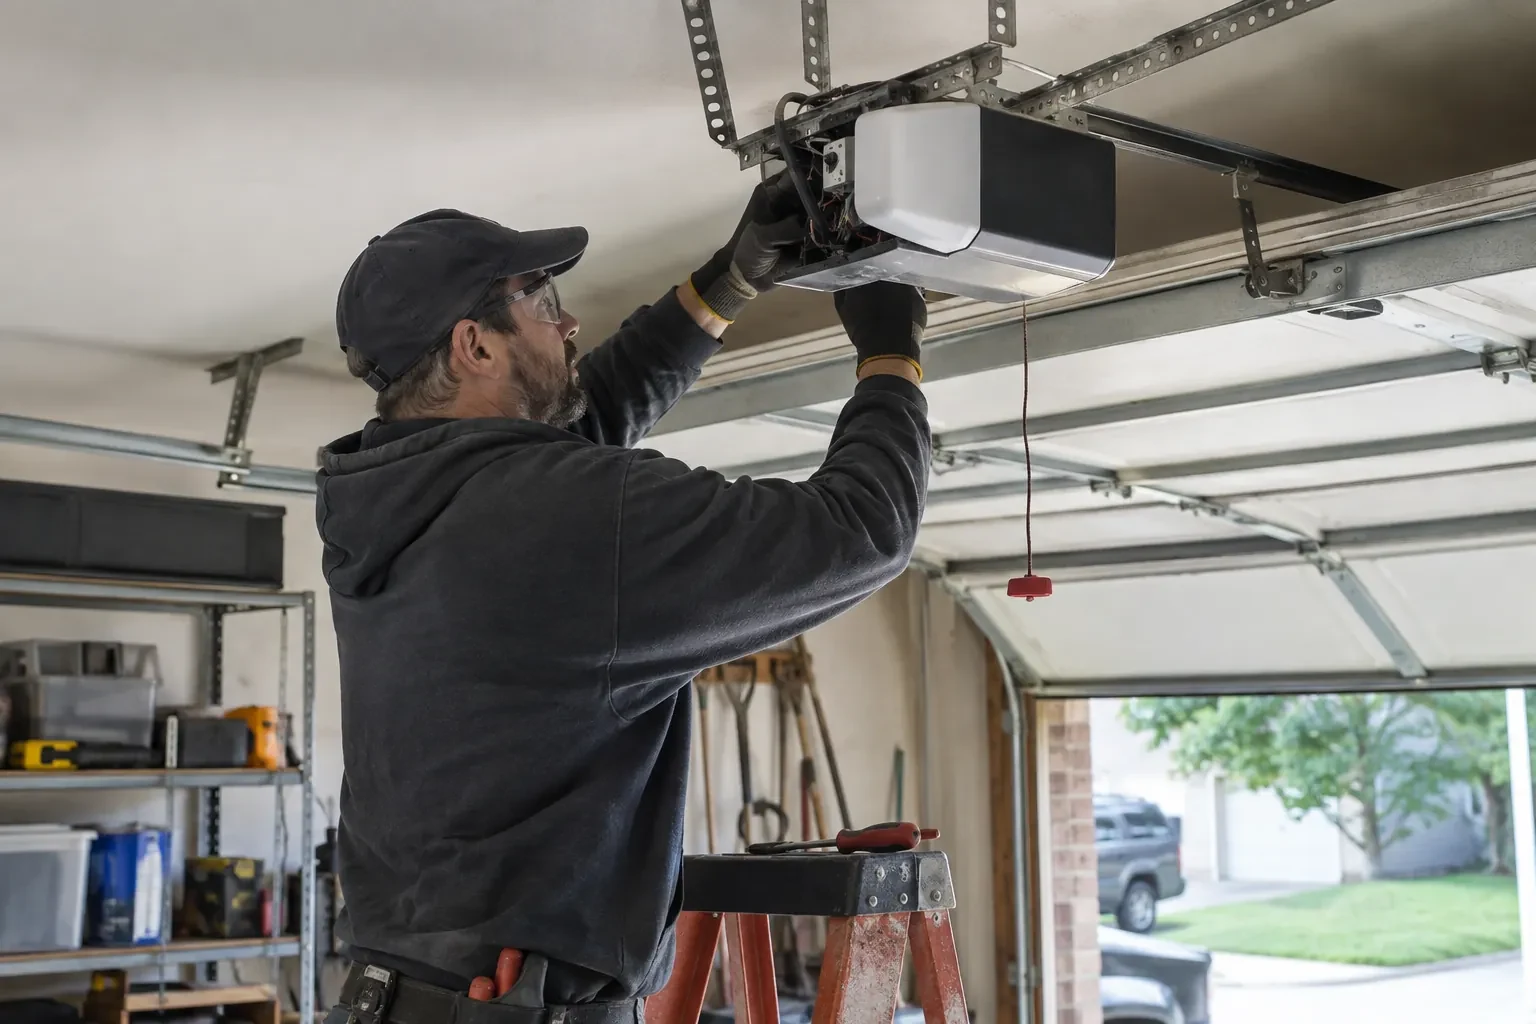
The visit follows a set order. First the technician watches a full cycle, up and down, from a safe distance, noting where the noise, shaking or hesitation lives. Then the door is closed and inspected hardware by hardware, from the bottom brackets to the torsion shaft. The manual release is pulled and the door is lifted by hand to feel the balance. Only then does the work start: fasteners, lubrication, opener adjustments and sensor alignment. A second cycle and the reversal tests close the visit, and the difference between the first run and the last is the measure of the tune-up.
How the visit goesYou pulled the red cord to lift the door by hand during a power cut and it felt like lifting a car. The opener has been doing all the work and grumbling about it, and you are not sure how long that can go on.
Garage Door Tune-Up
How the visit goes
Watching one full cycle first
Before a wrench comes out, the technician stands clear of the opening and runs the door all the way up and all the way down. They are listening and watching at the same time: where the squeal starts, whether the sections shake at a particular height, whether the door hesitates at the curve of the track, how it lands on the floor, and whether the opener labours or hums. Each observation is tied to a spot on the door or a point in the travel. That map guides the hands-on inspection that follows and gives a fair comparison at the end, when the same cycle is run again after the work.
Small adjustments with a big effect
A few minutes of fine adjustment often change the character of a door. A vertical track that has crept inward is eased back so the rollers run in the centre of the channel. A horizontal track that has sagged on its hanger is brought level so the door does not drop into the curve. A strut on a wide top section is checked and tightened so the panel stops flexing when the opener pulls on it. The lock bar is aligned with its slot, or disabled on an opener-driven door so it can never be engaged against the motor. None of these are repairs; they are corrections that let the existing parts work as designed.
Knowing what to listen for next
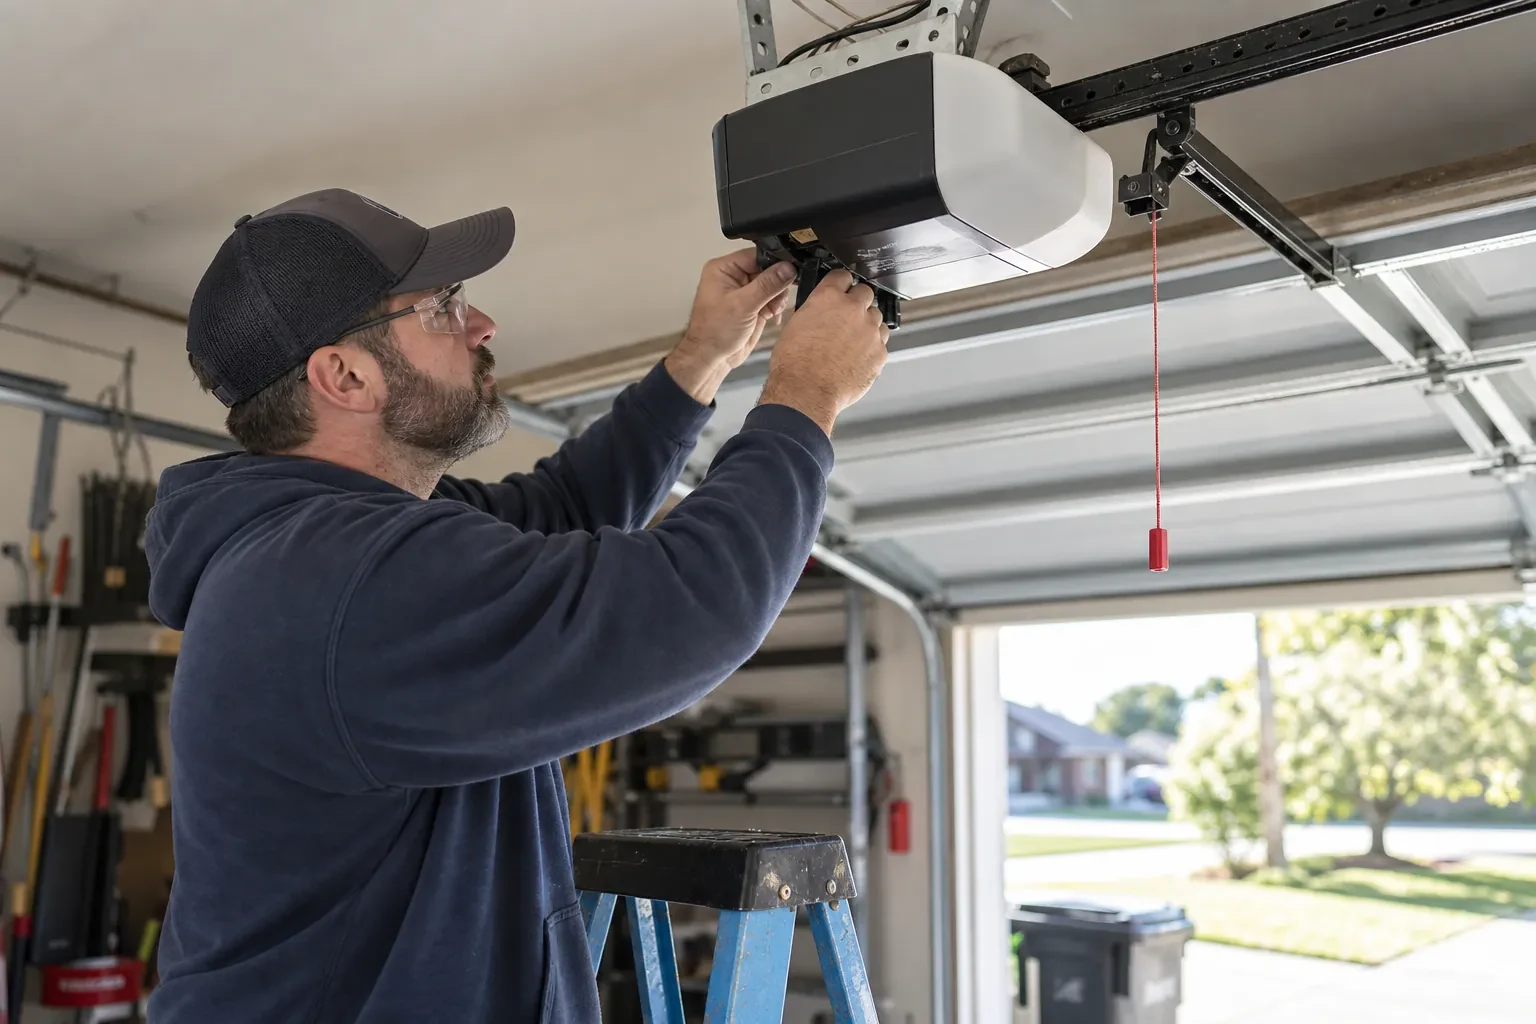
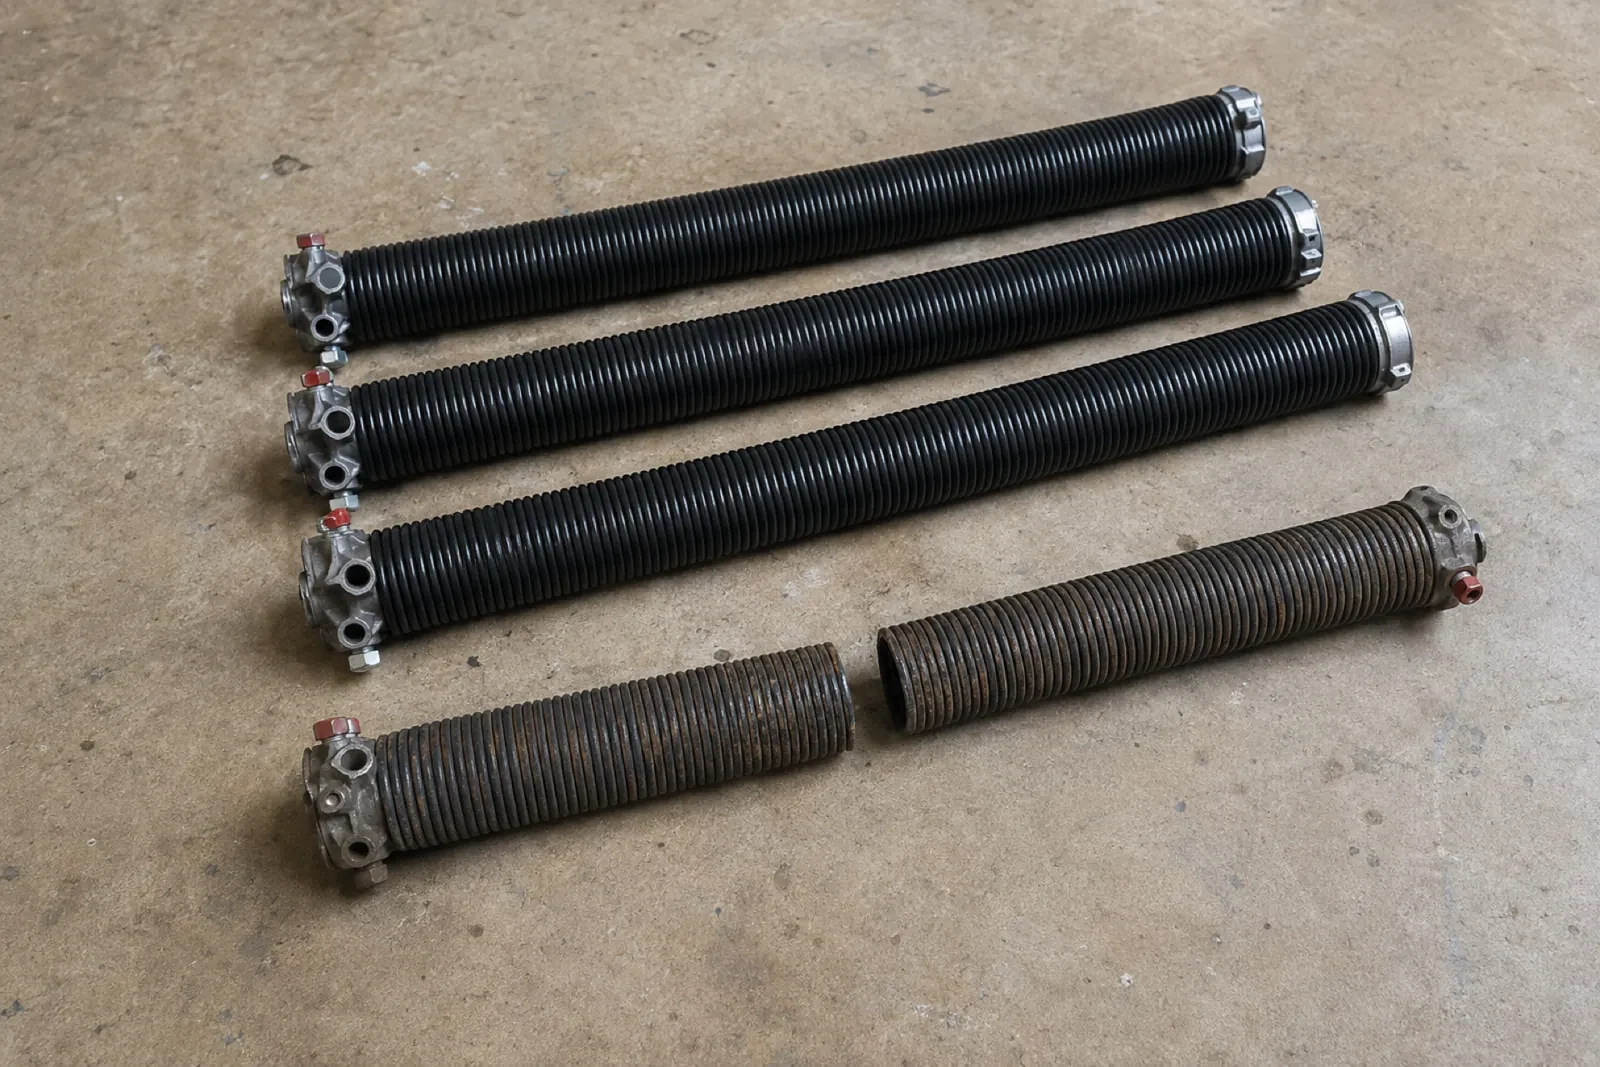
Part of the handover is a short lesson in the door's language, so the next change registers. A squeak returning means the hinge pins want lubricant. A new rattle at the top of travel means a screw is loosening and is worth a look. A door that starts to sink when lifted by hand is springs losing tension. A loud bang from the garage with the door then feeling very heavy is a broken spring, and the door stays closed until it is replaced. A door that reverses on its own with no obstruction is a sensor or force issue. With these signs in mind you can describe a problem precisely and decide whether it needs a call.
Garage Door Tune-Up
In the van
2x4 test block and tape measure
Bottom seal (astragal)
Replacement steel or nylon rollers
Lag screws for brackets and header
Photo-eye brackets and wire
Garage Door Tune-Up
What affects the quote
Bottom seal and weatherstrip
Treating existing seals is part of the tune-up; replacing a torn bottom seal or renewing hardened jamb weatherstrip is additional material and time, quoted by the length involved.
Type of opener
Chain, belt, screw and wall-mounted jackshaft openers each have their own tension checks and lubrication points, and older units take longer to set for travel and force than newer ones.
Single or double door
A double-width door has more hinges, rollers and track to inspect and lubricate, a heavier counterbalance and usually a strut or two on the top section, so it takes longer than a single door.
What to have ready
- What brand is the opener, and is it a chain, belt, screw or wall-mounted unit?
- Is the door worse in cold weather or after rain?
- Is the door a single or a double, and what is it made of?
Garage Door Tune-Up: questions
QuestionsHow do I test the safety reversal at home?
Two tests, once a month. With the door open, press close and wave a broom handle through the photo-eye beam near the floor: the door should stop and go back up. Next, set a 2x4 flat on the concrete in the middle of the opening and press close: the door must reverse when it meets the board. If it stops on the board without reversing, the down travel or force setting needs adjustment, and if it fails after that, book a visit.
The sensor light is blinking. What does that mean?
On most openers a steady light on each photo-eye means the pair are aligned and seeing each other, and a blinking light means the beam is interrupted or the sensors are out of line. Common causes are a bracket nudged by a bin or a tire, dust or salt film on a lens, low sun at a certain hour, or a chafed wire. During a tune-up the lenses are cleaned, the brackets straightened, the pair realigned and the wiring checked back to the opener.
How should I prepare the garage before the visit?
Move vehicles out of the garage or well clear of the door's path, and clear the floor under the opening and along both tracks so a stepladder can be set up. Keep children and pets out of the garage during the work. If you have the door or opener manual, or know the model, have it handy. A short note of what you have noticed and when, especially in cold weather, is genuinely useful.
Related services
- Off-Track Garage Door ResetThe rollers on the door have been squealing for months.
- Garage Door Panel ReplacementYou misjudged the last metre of the driveway and felt the bumper meet the door.
- Garage Door Bottom Seal ReplacementWith the door closed and the lights off, a bright line of daylight runs along the floor from one side to the other.