Openers · Cliffside
Photo-Eye Sensor Alignment or Replacement in Cliffside
You press the remote, the door drops a few centimetres, then climbs straight back to the top while the opener light blinks.
In plain words
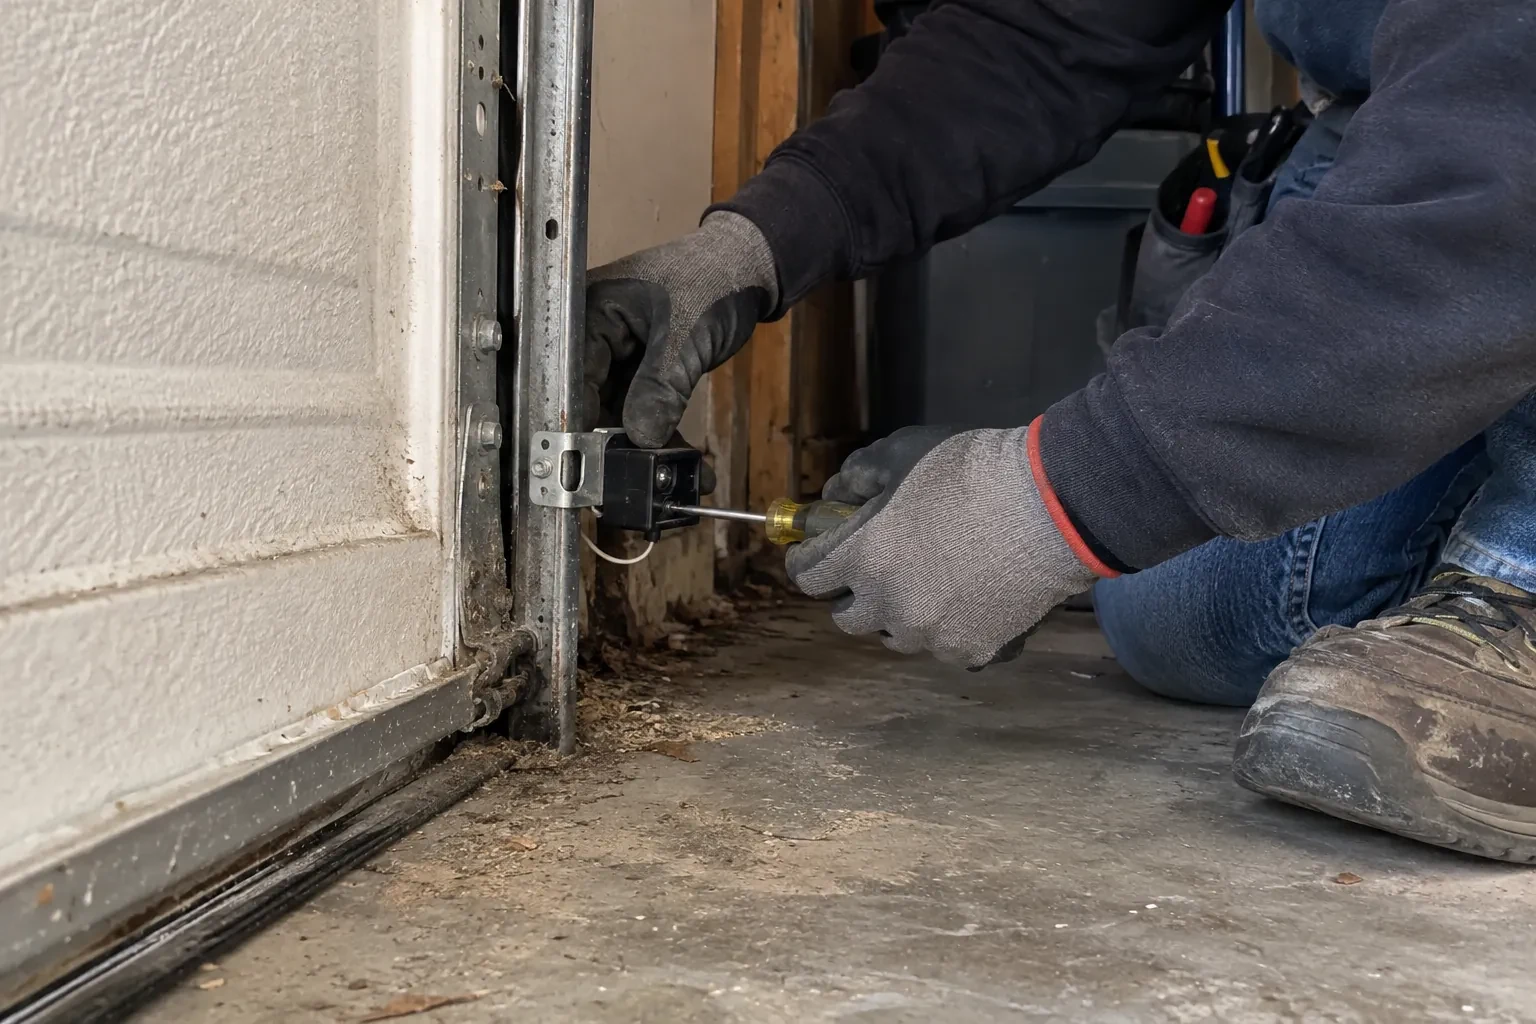
Most sensor visits end in alignment rather than new parts. The brackets that hold the sensors ride on the door track or the wall, and they get bumped by bins, tires and shovels until the two lenses no longer look at each other. The technician resets both sensors to the same height, loosens the wing nuts, aims the pair until the receiving light holds steady, tightens everything and secures the wire. Replacement is the answer when a lens is crazed, a housing is cracked, water has got inside or the indicator stays dark with good wiring, and then a pair matched to the opener is fitted.
How the visit goesOn bright mornings the door will not close, then by lunchtime it behaves itself. The garage faces the low sun, and the light reaches straight across the floor to one of the little black sensors.
Photo-Eye Sensor Alignment or Replacement
How the visit goes
Reading the two small lights
Most sensor pairs carry an indicator on each side, though some older models light only the receiver, so the technician checks that model's own chart first. On most openers the sending eye shows one colour and the receiving eye another, and both should glow without a flicker. If the sending light is steady and the receiving light is dark or blinking, the beam is not landing where it should: misalignment, an obstruction or a dirty lens. If both are dark, the pair has no power, pointing up the wire to a cut, a loose terminal or reversed connections. The technician also nudges each bracket gently while watching the light; a flicker on touch means a loose mount.
Cleaning and protecting the lenses
Lenses are wiped with a soft cloth and a mild cleaner, never scraped, and the housings are checked for cracks that let in water. Sensors that have been sitting in the strip where slush and salt collect are raised within the permitted height range and their brackets sealed. On a wall where the wire runs exposed, a slim protective channel keeps it clear of bins and bikes. Where mice have been at the wire, the new run is routed higher along the wall and dropped straight down to each sensor. These small measures are what keep a repair from repeating the following winter.
Wiring that stays put
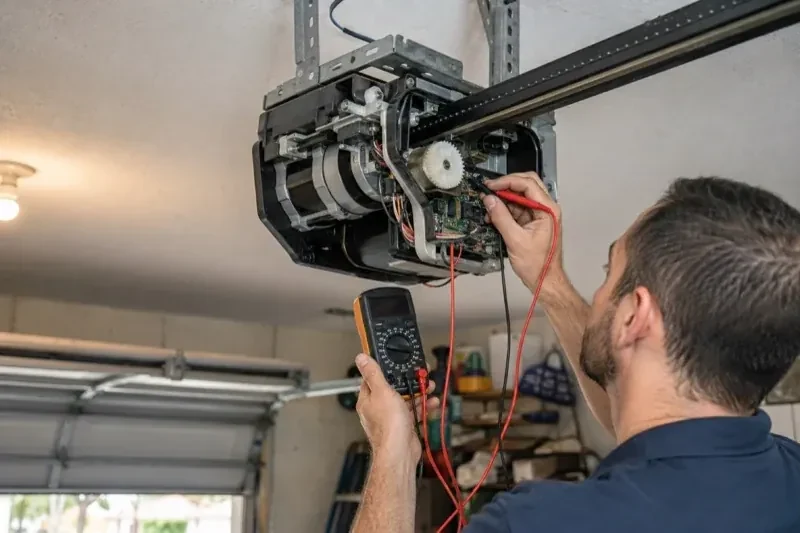
The wire between the head unit and the sensors has been secured along the ceiling and walls, clipped clear of the track and, where it was exposed, run inside a protective channel. Two things keep it that way. First, when anything is fastened to those walls or that ceiling, from shelving to a bike hook to drywall, look for the thin wire before driving a screw or a staple. Second, if mice have been in the garage, a chewed wire is a common sign, so a dark sensor light after a sighting is worth a look at the run. Either way, the sensor lights will tell you the moment the circuit is open.
Photo-Eye Sensor Alignment or Replacement
In the van
Insulated wire staples
Track-mount sensor brackets
2x4 test block
Wing nuts and carriage bolts
Two-conductor low-voltage wire
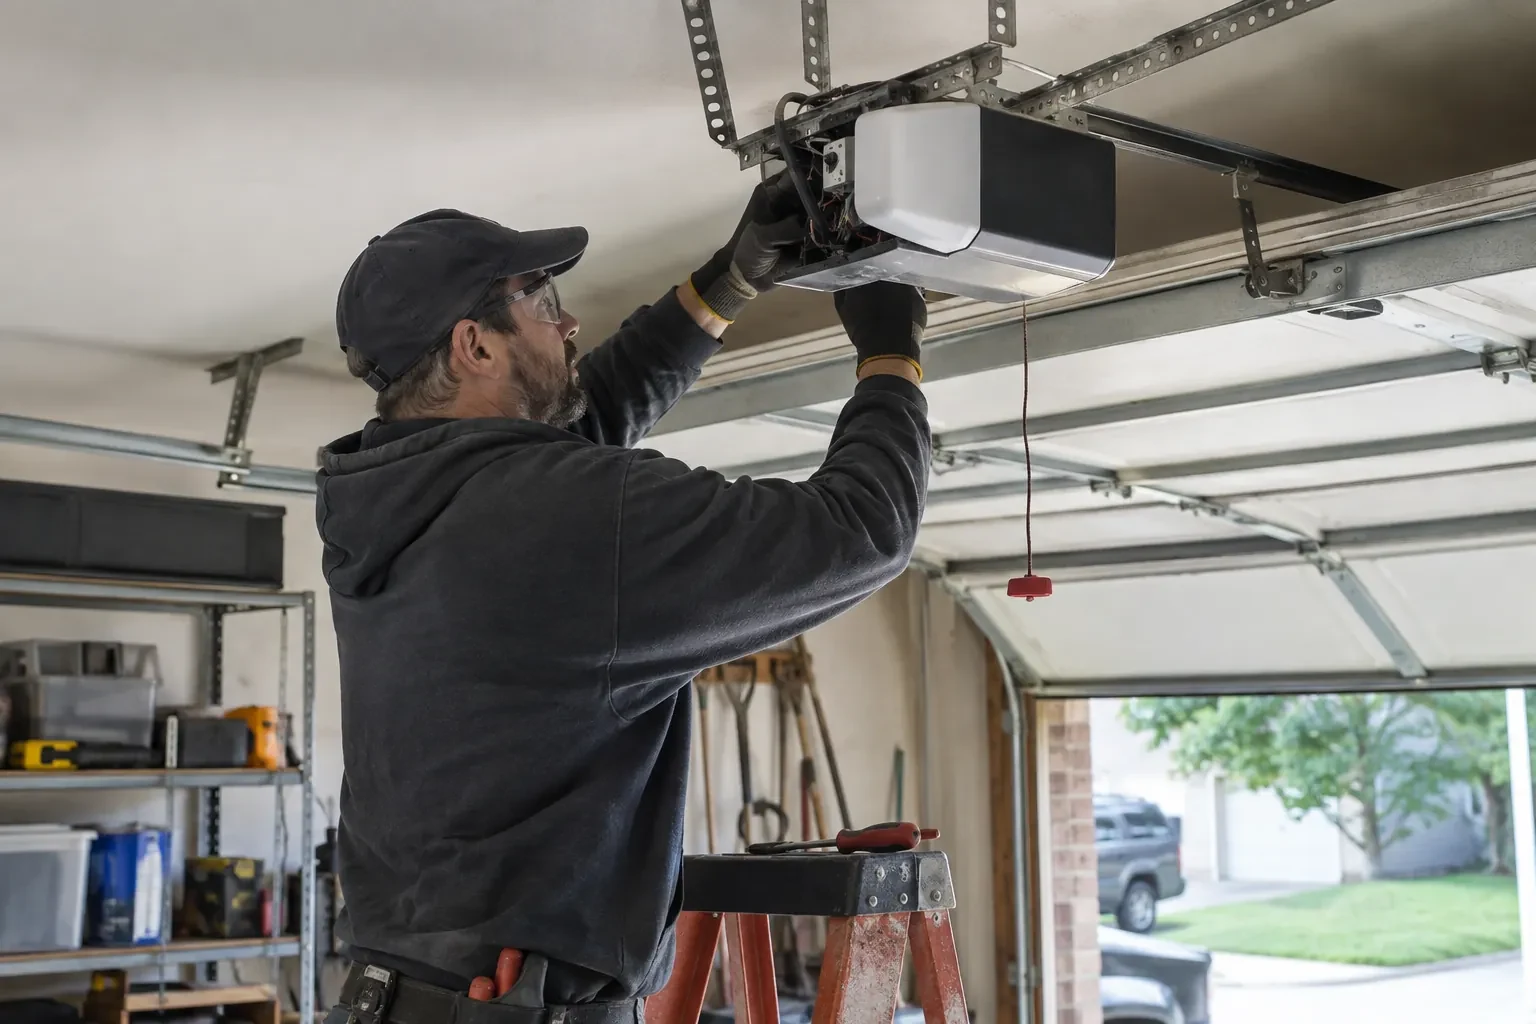
Photo-Eye Sensor Alignment or Replacement
What affects the quote
Bracket condition
A bracket that can be straightened costs little time. One that is cracked, rusted through or missing is replaced, and a change from track clips to wall or floor brackets adds anchors and mounting work.
Type of kit
Some replacement kits contain only the two sensors with connectors, while others include brackets and a full length of wire. The kit that suits the opener and the state of the existing hardware is what is quoted.
Corrosion reaching the head unit
Where salt and water have travelled up the wire to the terminals, or the sensor terminals on the board are damaged, the repair extends beyond the pair and that is set out separately.
What to have ready
- When you press close, does the door bounce back, sit still, or go down only with the wall button held?
- Are there sensors at the floor on both sides, or are they missing or mounted up beside the motor?
- Does the opener light flash when you press close, and how many times?
Photo-Eye Sensor Alignment or Replacement: questions
QuestionsMy opener has no sensors at all. Can they be added?
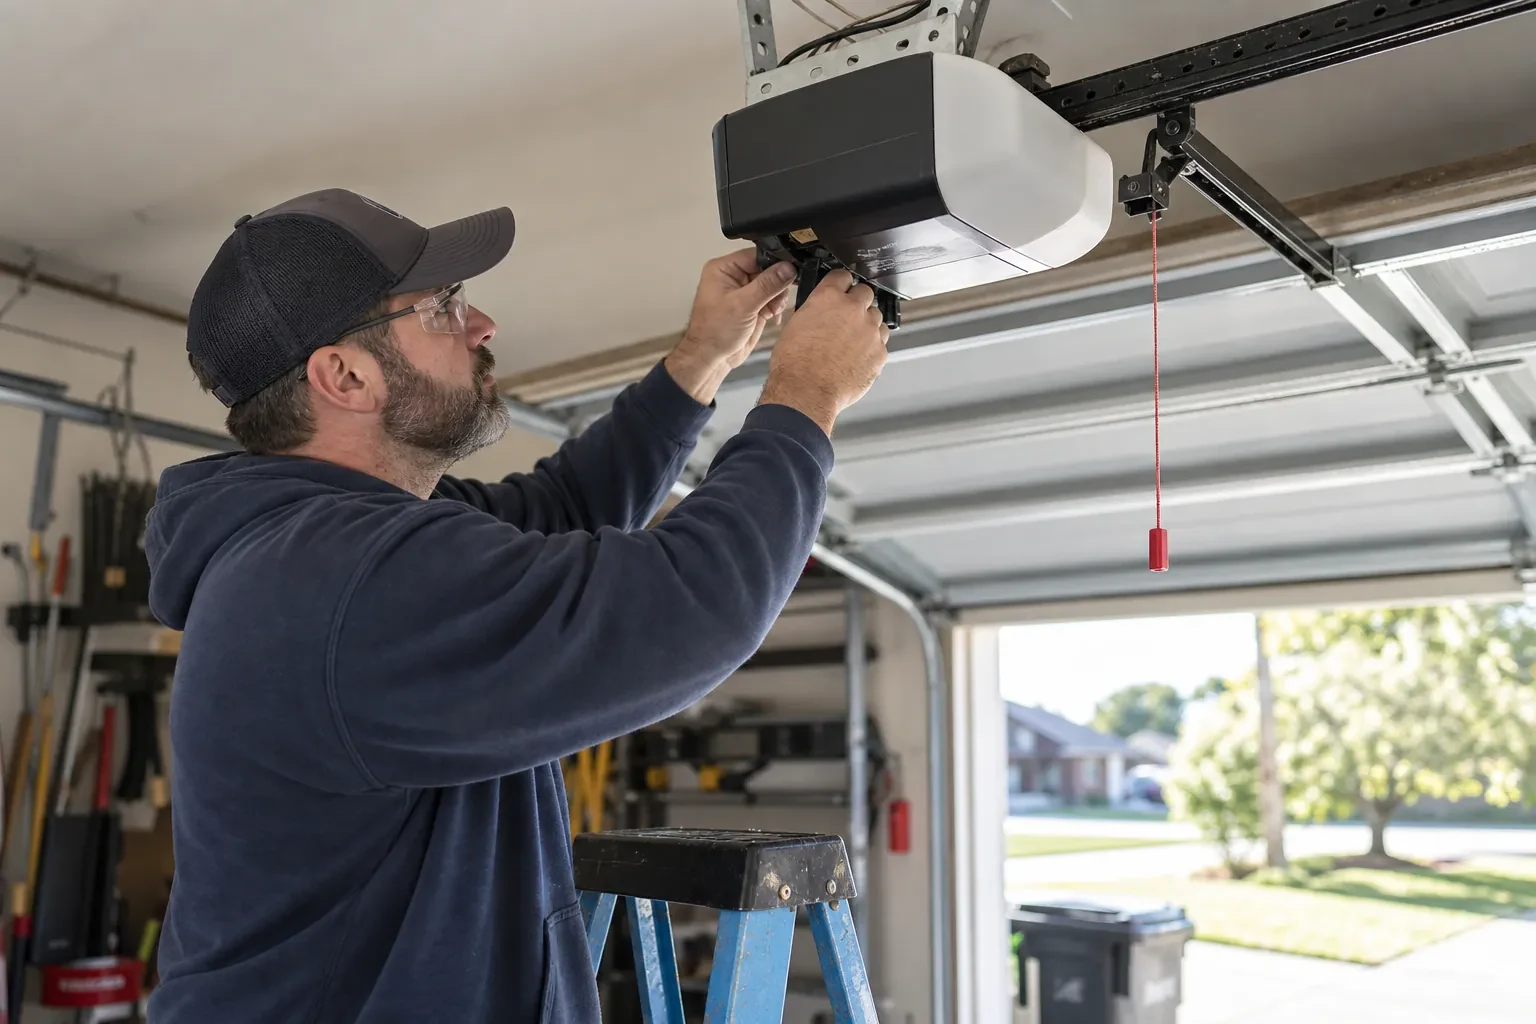
If the opener predates the entrapment-protection standard, which operators have had to meet since the mid-1990s, its board has no sensor circuit and a pair cannot simply be wired in. The positive news is that a modern operator brings the whole package: matched sensors, force reversal and a monitored circuit. The technician confirms the model first, because some units do have the terminals and simply had their sensors removed.
How high off the floor should the sensors sit?
Low. The industry checklist expects the beam no more than roughly 15 cm (6 in) up from the floor, so that a small child, a pet or a bicycle wheel breaks it. Both sensors are set at the same measured height and level with each other, since a difference of a couple of centimetres is enough to lose the beam. Within that rule the technician can raise them a little to keep them out of the strip where slush collects.
Why does my door start to close and then go straight back up?
Often the opener believes something is in the doorway, which happens when the receiving sensor stops seeing the beam, whether from an object in the path, a bracket knocked out of line, a dirty or frosted lens, sun in the receiving eye, or a damaged wire. Binding, a force setting or the door arm can cause the same symptom, so the sensor lights and the opener's flashing pattern are read first, and the technician fixes the cause they point to rather than guessing.
Related services
- Chain-Drive Opener RepairPress the button and the opener hums for a second, then quits.
- Belt-Drive Opener RepairPress the remote and the motor runs its full cycle, lights on, the usual whir, but the door does not move a centimetre.
- Garage Door Opener ReplacementThe remotes only work from the end of the driveway now, and one of them disappeared with a set of keys last month.