Openers · Birchmount Park
Smart Garage Controller Setup in Birchmount Park
The house came with a controller already screwed to the garage ceiling and a sensor on the door, but the app insists the device belongs to another account.
In plain words
A door you can close from across town is a door you cannot see, and the operator standard treats that seriously. Any command sent from out of sight must be preceded by a warning: the controller sounds a beeper and flashes a light for several seconds before the door moves, and the door must have working photo eyes at the floor. The setup visit confirms both. The technician checks the sensors, tests the remote close so you hear it yourself, and runs the door onto a 2x4 to prove it reverses on contact. Convenience is added on top of those two safety behaviours, not in place of them.
How the visit goesThere is a wireless symbol printed on the opener above the car, and the manual mentions an app, but the head unit has never been connected to anything. You downloaded the app once, it asked for a serial number and a network, and the moment passed.
Smart Garage Controller Setup
How the visit goes
Reading the label on the opener
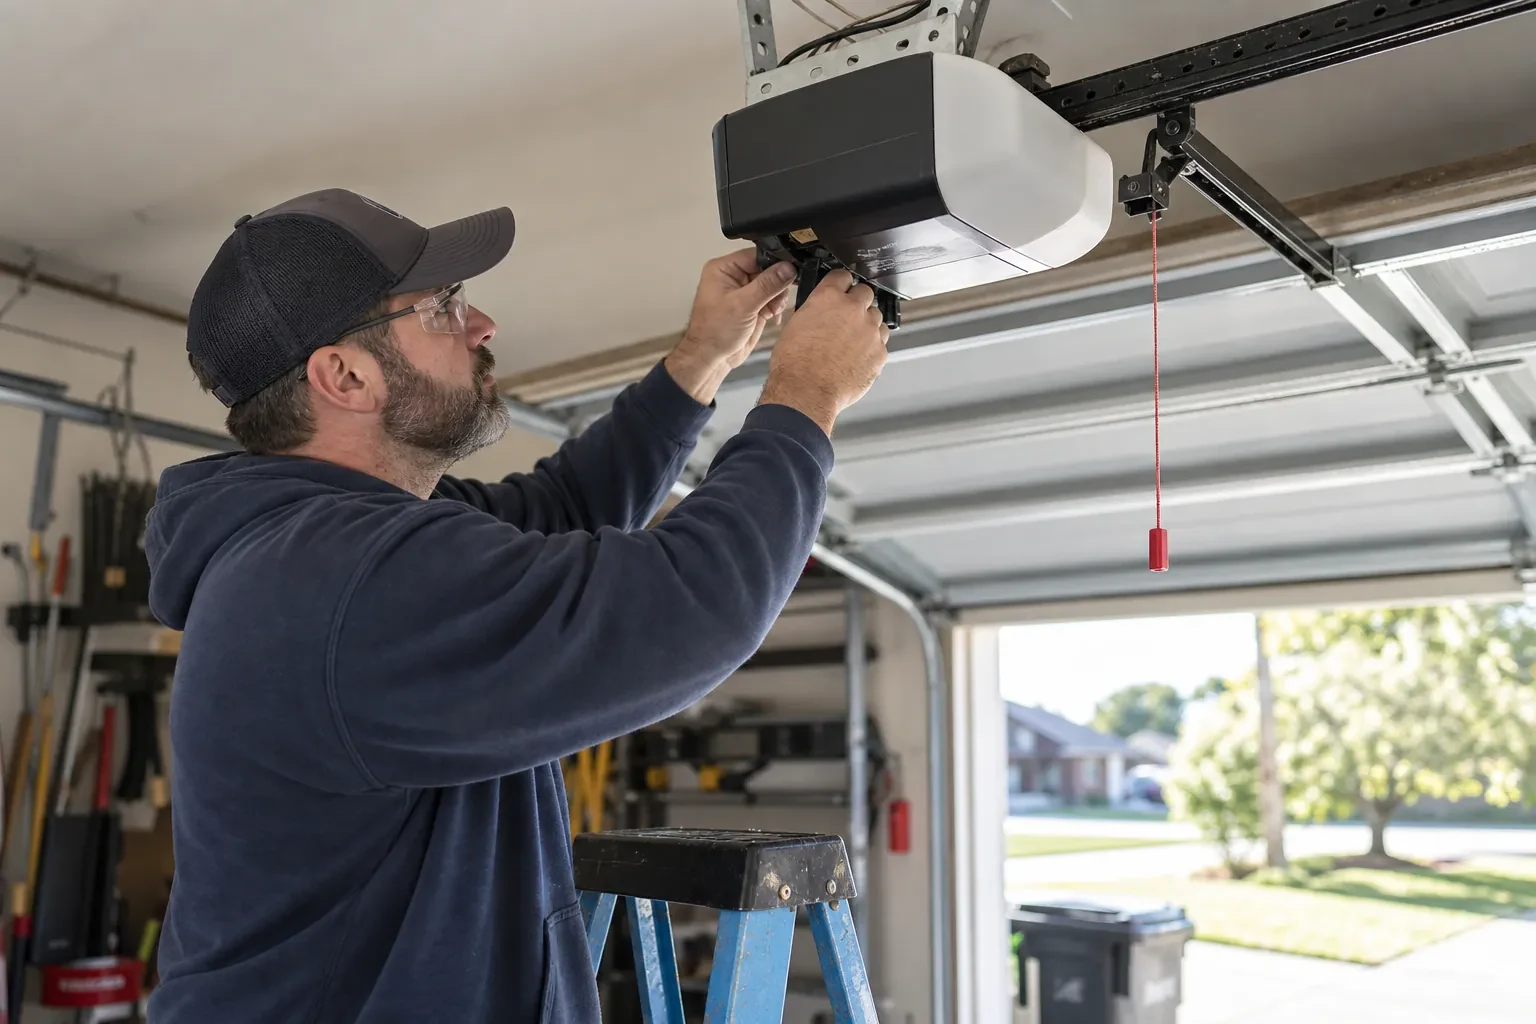
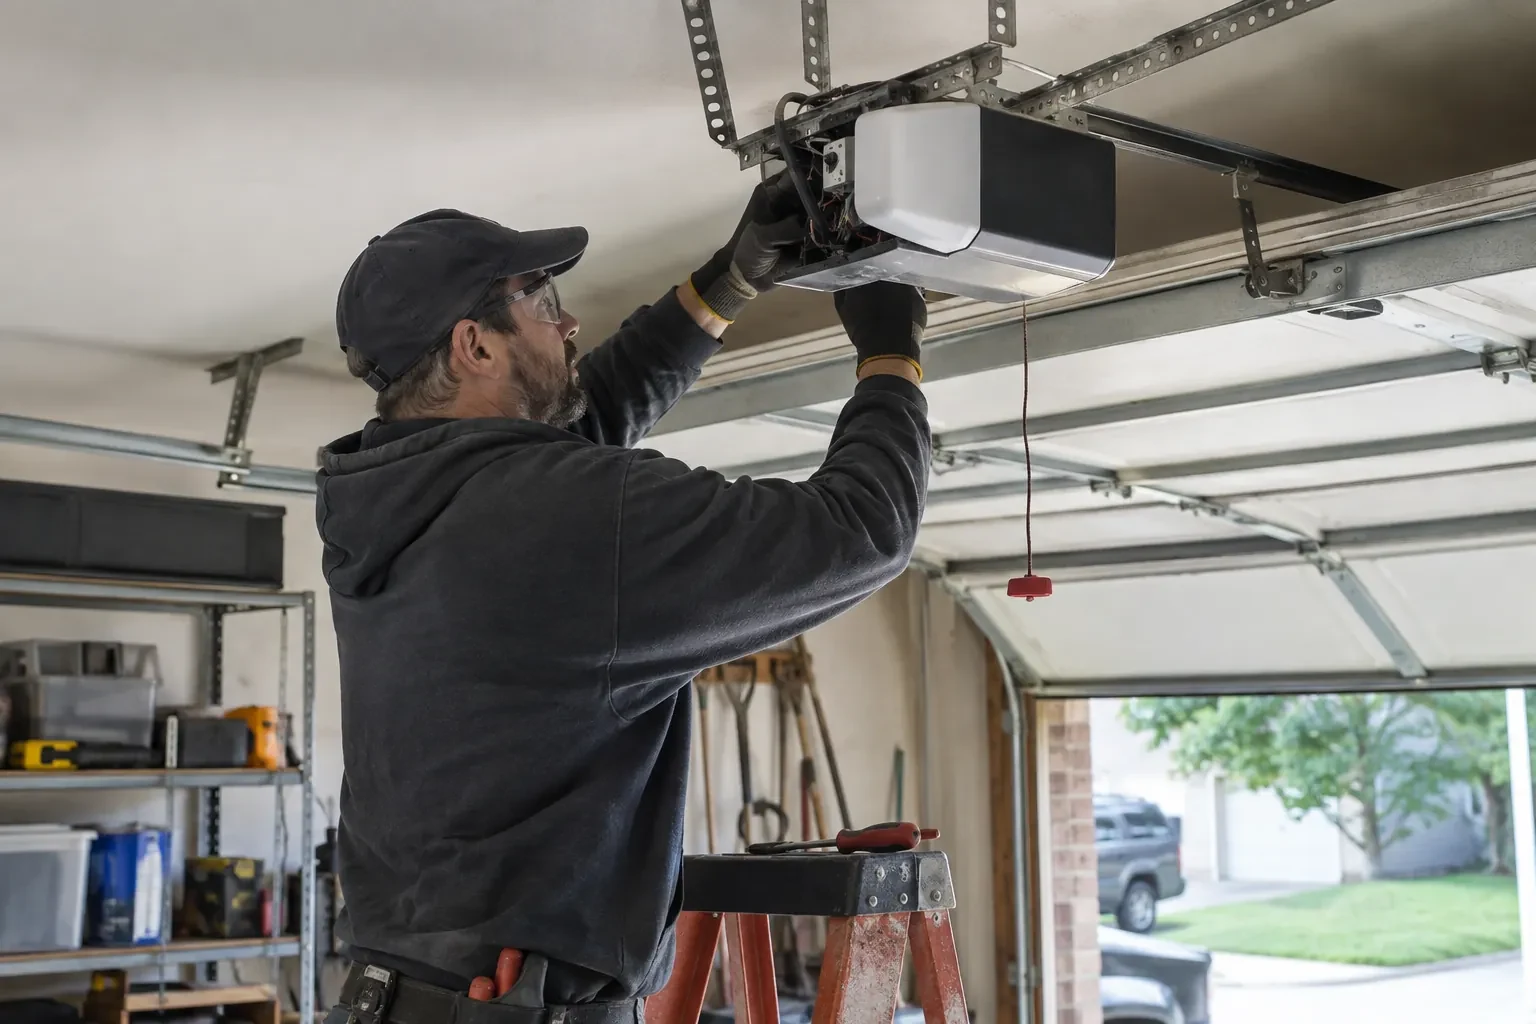
The first thing checked is the small label on the head unit, because everything else depends on it. Brand, model number and date of manufacture tell the technician which family the opener belongs to and which controllers list it as supported. The learn button, usually under the light cover, is checked for colour, since on many makes it marks the radio-coding generation and decides whether a hub can be wired to the wall-control terminals or must pair by radio. The wall console is looked at too: a console with a digital display often means an encrypted connection that needs a different hookup. A photo of the label sent ahead lets this step happen before the van leaves.
Mounting and teaching the door sensor
The sensor is fixed to the inside of the top door section with two screws, oriented the way its maker specifies so the tilt reading is unambiguous. Its battery goes in, and the hub is put into pairing mode to find it. The technician then follows the controller's own pairing procedure: some units come already programmed to their sensor and are simply verified through full cycles, others are taught the closed and open positions by cycling the door. Further cycles follow while the app is watched for the status to change within seconds of each end. A sensor that reports late or wrongly is repositioned rather than left to be second-guessed later.
A record of what was installed
You receive a short record for the house file: the opener model and serial, the controller model and where it is mounted, the sensor position and battery type, the network name the hub is joined to, and the date of setup. Passwords are deliberately absent from it. The record is what makes a later change simple, whether that is a new router, a second door, a replacement sensor or a future opener, because whoever does the work can see at a glance what is already there. It also tells a buyer, one day, that the connected features on the door were set up properly.
Smart Garage Controller Setup
In the van
Cable clips and insulated staples
Lithium coin cell or cylindrical cells
Low-voltage bell wire
Retrofit smart hub
Receptacle splitter with approval mark
Smart Garage Controller Setup
What affects the quote
The opener's generation
Some openers accept a two-wire connection at the wall-control terminals; others use encrypted consoles and need radio pairing or a small adapter between hub and opener. The learn button and label decide which.
Wireless coverage at the garage
A strong signal at the ceiling is a straightforward join. A weak one, common in detached garages, calls for an access point or extender, which is quoted separately.
Photo eyes needing attention first
Remote closing requires a working sensor pair. Realigning a bracket is small; replacing a failed pair and running new wire is a separate item the technician names before starting.
What to have ready
- Is the garage attached to the house or detached?
- How many garage doors do you want connected?
- What colour is the learn button under the opener's light cover?
Smart Garage Controller Setup: questions
QuestionsMy opener already has a wireless symbol on it. Do I still need a hub?
Probably not. An opener with a built-in radio needs only to be put into pairing mode, joined to your network and registered to your account; it reports door position from its own travel sensing, so no separate sensor is required either. The visit becomes configuration and testing rather than installation. The technician also checks that the unit has not been left tied to a previous owner and that its firmware is current.
Do you need my Wi-Fi password?
No. The technician will ask you to type it into the app yourself at the right moment and will look away while you do. The same goes for the account password and any verification code. The technician needs to see that the hub has joined and that commands work, not the credentials that made it happen. If you do not know your network password, find it before the visit; it is often printed on the router.
Can the door close itself at night?
Yes, with a schedule. You choose a time, and each night the controller sounds its warning, flashes its light and attempts to close the door if it is open; the close can fail if the beam is blocked, a sensor is faulty, or the controller is offline. Because it is unattended, the same safety rules apply: the door refuses or reverses if the beam is broken. Many households pair the schedule with a left-open alert so they hear about it either way.
Related services
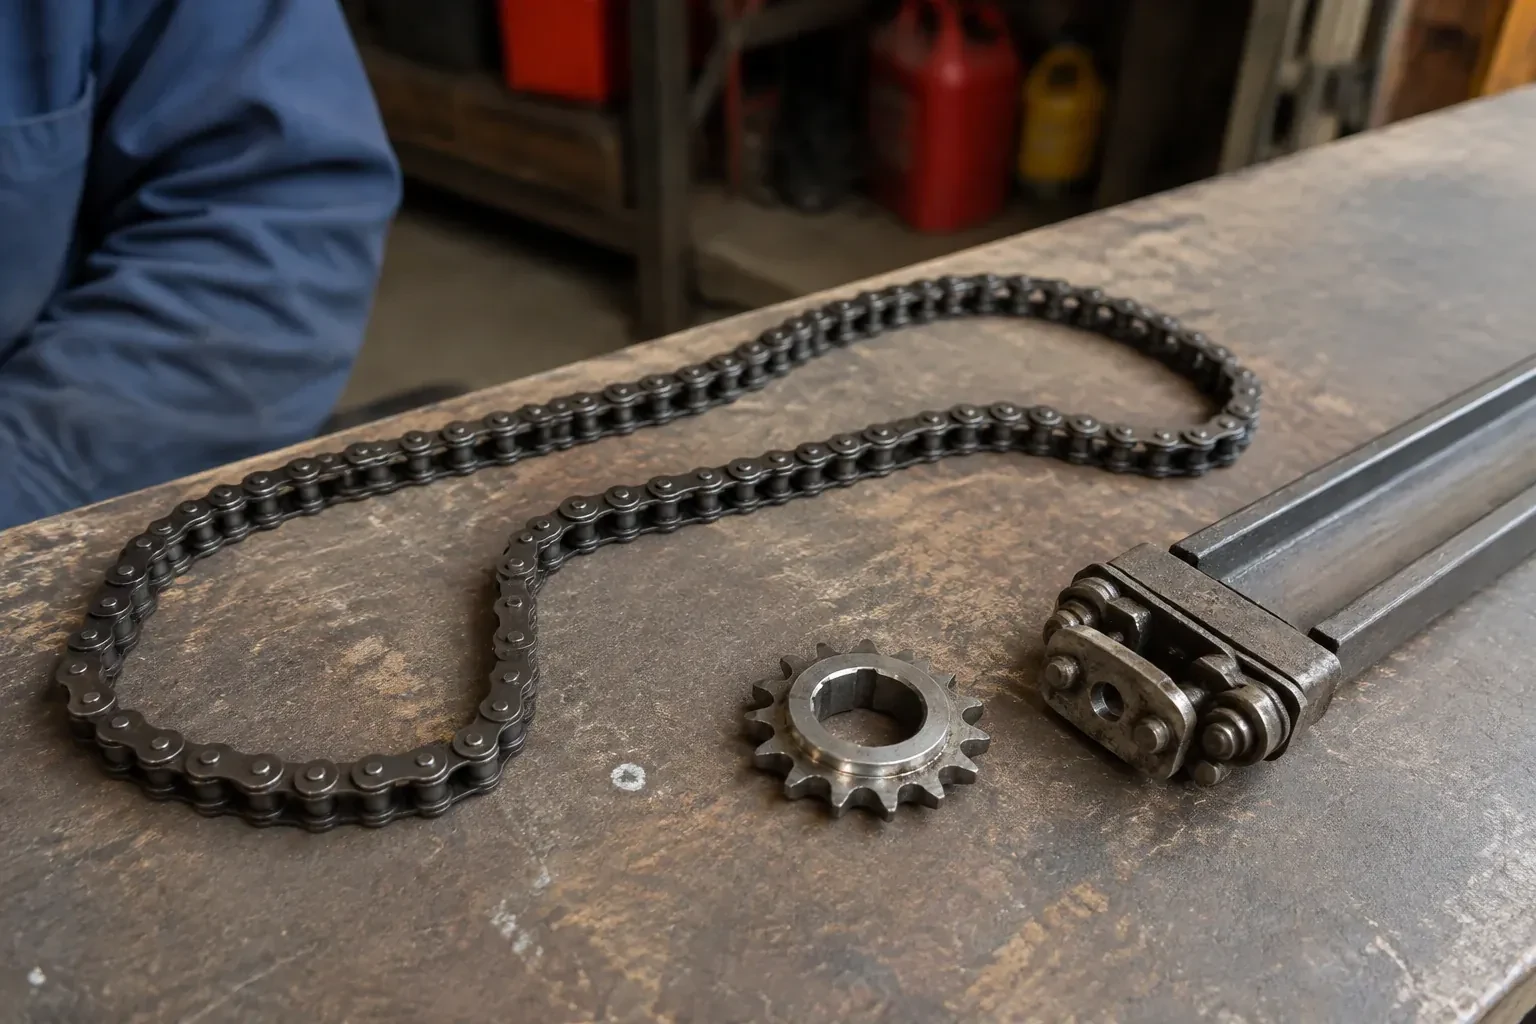
- Chain-Drive Opener RepairPress the button and the opener hums for a second, then quits.
- Belt-Drive Opener RepairPress the remote and the motor runs its full cycle, lights on, the usual whir, but the door does not move a centimetre.
- Garage Door Opener ReplacementThe remotes only work from the end of the driveway now, and one of them disappeared with a set of keys last month.